The surgery went well.

As promised, here is a picture of the guitar, post-drilling. There’s not much to say, other than it is precisely what I asked for. I’m just glad there were no slip-ups! The two tapered holes will secure the 5-way pickup selector, which I am having mounted to the inside of the electronics cavity. This will eliminate the decorative brass plate that traditionally covers the area, exposing the wood that would have otherwise been hidden. Also note that the MIDI side jack and pickup wiring hole have not been routed yet. These locations have been determined already (and in the case of the pickup wiring hole, there is no choice), and will be drilled sometime in the near future.

Some more good news – Alembic is set to begin cutting the medallion inlay before the end of the month! Because of this ambitious (optimistic?) scheduling, I should be receiving some more revisions of both the medallion and the fingerboard inlays shortly. There is a bit of unfinished business concerning some design details, but we had to hold off until the control locations were drilled so the inlay artist could see exactly how much room he has for the medallion. As of now, the medallion will be approximately 4” long x 2.5” wide.

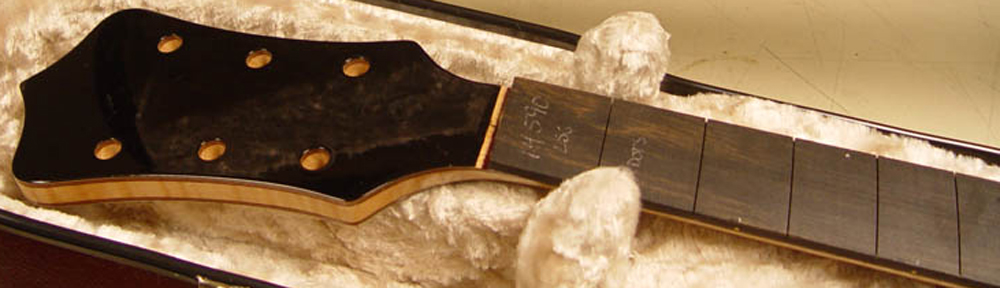
All of this is happening just I as get word from Calton Cases that the custom made case should be leaving Canada this Thursday, Alembic-bound!

Mica tells me that everyone at Alembic is very, very excited that we’re finally getting to the inlay cutting.

It’s all falling into place, slowly but surely.

Knobs, evolved.

It has been a while since my last entry, but in that time, another milestone has been reached! I came to the realization that it was going to take a personal visit to Santa Rosa for me to approve a control layout, and lucky for me I was able to make it happen while in San Francisco for AES. It’s a beautiful drive over the Golden Gate Bridge, through Marin County. I got to meet and thank the fine people who have been lovingly crafting this instrument for the last two years. It was very important to me that, somehow, I’d be able to meet them, and I think they were equally excited to meet me as well. Susan told me that they actually meet less than 10% of their customers, so it was a treat for them as well. You can see some pictures from my field trip here.

The picture above details what would become the final control layout that was used to plot the guitar. This picture shows my “intentions”: three of the four brass knobs and the three black switches follow the contour of the guitar; another group of three knobs form an equilateral triangle; the distance between the two MIDI scroll buttons are equal to the distance from the first button and its volume knob. From this photograph, the exact locations are drawn directly on the guitar, and then bored through the wood with a drill press. If I was going with a standard control layout, these holes would have been drilled out along with the pickup cavities – but of course, I took the long way.

‘Patience’ is not often used when expounding my strengths, but who now can say otherwise? The control locations were first mocked up on July 16, 2009 – an agonizing 544 days ago! It took me that long to find a functional and aesthetically pleasing layout that I was at peace with. Believe me, this process has highlighted my shortcomings more than my virtues!

It was late last night when I got the email from Mica confirming that the control locations had finally been drilled (but not before again confirming with her father, Ron, that the electronics would fit in the desired locations. I have a feeling that she’s just as happy as I am that we’ve gotten past this important step!

I’ll post a picture of the actual drilled instrument later today.

I’m one giant step closer to completion!